Hide and Seek No More: Mastering Rawhide the Way Frontiersmen Actually Did It
There's a quiet satisfaction in holding a piece of gear you made entirely by hand — no hardware store run, no Amazon cart, no synthetic shortcut. Rawhide is one of those materials that earns that feeling in spades. It's stiff, tough, water-resistant when properly prepared, and it's been keeping humans alive and equipped for thousands of years. The American frontier ran partly on rawhide — lashing wagon wheels, reinforcing tool handles, waterproofing pouches — and the knowledge to make it yourself is still worth every bit of your time.
Let's walk through the whole process, from fresh hide to finished material, using nothing that wouldn't have been available to a 19th-century homesteader.
What Rawhide Actually Is (and Isn't)
First, a quick clarification: rawhide is not the same as tanned leather. Tanned leather has gone through a chemical process — traditional bark tanning, brain tanning, or modern chrome tanning — that permanently alters the hide's protein structure, making it soft and flexible even when dry. Rawhide skips that transformation entirely. It's cleaned, dehaired hide that's been stretched and dried under tension. The result is a material closer to stiff plastic than supple leather, and that's exactly what makes it so useful for specific applications.
Rawhide shrinks dramatically as it dries. Old-timers used that property deliberately — wrapping a wet rawhide strip around a cracked axe handle or a loose arrowhead and letting it dry created a grip so tight it practically fused the joint. Understanding this behavior is the whole game.
Starting With the Right Hide
Whitetail deer, elk, bison, and cattle hides all work well. Deer is probably the most accessible for most folks who hunt or know someone who does. The thicker the hide, the stiffer and more durable your finished rawhide will be. Cattle hide produces a heavier-duty product good for large containers and heavy-duty lashing. Deer hide gives you something thinner and more workable for smaller projects.
Fresh is always better than frozen, but frozen works if you thaw it slowly in cool water. The key is getting to work before decomposition starts — bacteria are working against you from the moment the animal goes down.
Fleshing: The First Real Work
Stretch the hide hair-side down over a smooth log, a wooden beam, or a purpose-built fleshing beam. You're going to scrape away every bit of meat, fat, and membrane clinging to the inner surface. A dedicated fleshing tool — a dull-edged bone or antler scraper, or a draw knife for the more tool-equipped among us — works best. Push firmly and consistently from the center outward.
Don't rush this step. Any fat left behind will go rancid and weaken the hide. Take your time, work in sections, and check your progress by holding the hide up to light — thin spots and remaining membrane will show through.
The Soak
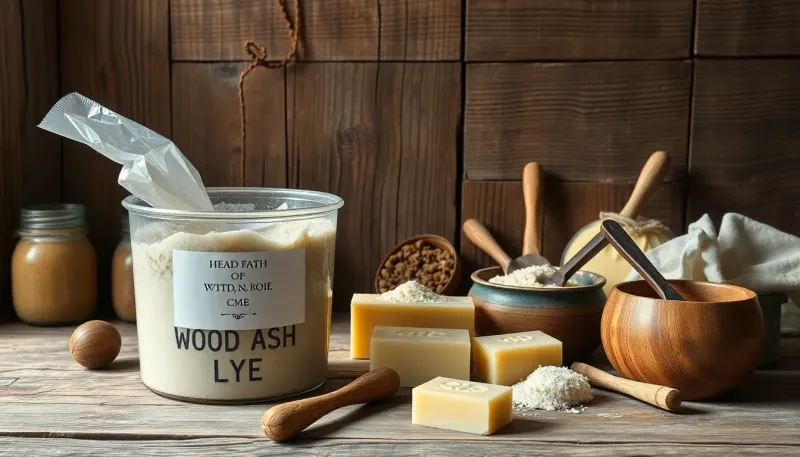
Once fleshed, the hide goes into a soaking tub — a barrel, a stock tank, or even a large plastic bin if you're not being precious about keeping everything primitive. Plain water works. Some folks add wood ash to create a mild lye solution, which speeds up hair slippage considerably. Change the water daily and check the hide every 24 hours. Depending on temperature and hide thickness, hair should begin to slip loose within two to five days.
You'll know it's ready when you can pinch a small section of hair and pull it free without much resistance. Don't oversoak — a hide left too long in water starts to degrade, and you'll lose structural integrity.
Dehairing
Back to the fleshing beam, this time hair-side up. Use your scraper to push the hair off in long strokes. It should come away in satisfying sheets. Work methodically across the entire surface. Once the hair is gone, flip the hide and do a final pass on the flesh side to remove the grain layer — that thin, slightly shiny membrane sitting just beneath the skin's surface. Removing it produces a cleaner, more consistent rawhide.
Rinse the hide thoroughly in clean water.
Stretching and Drying
This is where rawhide diverges completely from tanned leather. You're going to stretch the hide tight — as tight as you can manage — while it dries. A traditional rawhide frame is just a rectangular wooden frame with lacing holes cut or punched around the perimeter. Run cordage through the holes and tie it to the hide's edges, working your way around and pulling the lacing tighter as the hide begins to dry and contract.
Hang the frame in a shaded, well-ventilated spot. Direct sun can dry the hide too fast and cause cracking. Over the course of one to three days, the hide will go from translucent and floppy to stiff and slightly amber-colored. Keep adjusting your lacing as it shrinks — you want consistent tension across the whole surface.
What comes off the frame is your finished rawhide. It'll ring like a drum when you tap it.
Waterproofing with Natural Oils
Plain dried rawhide will re-soften and lose its rigidity when it gets wet — which limits its usefulness in the field. The fix is simple: work a natural oil or fat into the surface while the hide is still slightly warm from drying. Rendered animal fat, bear grease, neat's-foot oil (rendered from cattle hooves), or even plant-based oils like linseed work well. Apply a thin coat, let it soak in, and repeat. You're not saturating the hide — just conditioning the surface fibers enough to resist moisture penetration.
For containers meant to hold water, a light smoke treatment after oiling adds another layer of protection. Suspend the finished rawhide over a low, smoky fire of hardwood chips for an hour or two. The smoke deposits creosote compounds into the surface that repel water and resist bacterial breakdown. It's the same principle behind smoked leather, and it genuinely works.
What You Can Build With It
The applications are practically endless. Rawhide containers — parfleches, in Plains Indian tradition — fold flat for transport and hold shape beautifully when dried around a form. Rawhide lashing on tool handles creates a bond stronger than most modern adhesives once it dries tight. Knife sheaths, drum heads, moccasin soles, snowshoe webbing, and even primitive hinges all come from the same basic material you just made in your backyard.
For preppers thinking long-term, rawhide represents something genuinely irreplaceable: a structural material you can produce entirely from a resource that's already part of a sustainable food system. Every deer you harvest is also a potential supply of containers, lashing, and gear. That's the kind of thinking that kept frontier families equipped and self-sufficient for generations.
The Skill Is the Gear
You can buy a lot of things. You can stockpile tools, rations, and equipment until your barn is full. But the knowledge to walk into the woods, harvest an animal, and turn its hide into functional, durable gear? That lives in your hands and your memory, and nobody can take it from you.
Rawhide is a skill worth learning the slow way — fleshing beam, soaking barrel, stretching frame, and all. Once you've made your first piece, you'll look at every deer season a little differently. The freezer gets the meat. The frame gets the hide. Nothing goes to waste, and nothing gets forgotten.