Dirt, Water, and Fire: How to Build Survival Pottery from the Ground Up
There's something almost defiant about making a cooking pot from scratch. No hardware store run. No Amazon order. Just you, a patch of earth, and a fire hot enough to turn soft clay into something that can hold water, take heat, and last for years. That's the promise of primitive pottery — and it's a promise that's been kept for at least 20,000 years.
For most modern preppers, cookware is a solved problem. You've got your cast iron skillet, your titanium camp pot, maybe a few stainless steel pieces tucked in the bug-out bag. But what happens when those break, get lost, or run out? What happens when resupply isn't coming? That's when the ability to build your own vessels from raw materials stops being a hobby and starts being a genuine survival skill.
Let's walk through it — from finding usable clay all the way to pulling a finished pot out of a pit fire.
Finding and Testing Raw Clay
You don't need to buy pottery clay from an art supply store. Usable clay deposits exist across most of the continental United States, and learning to find them is half the battle. Look for exposed earth near creek banks, eroded hillsides, road cuts, and dried-up pond beds. Clay-rich soil tends to be smooth and slick when wet, and it cracks into distinct blocky patterns when it dries out. If you can roll a small piece into a snake about the thickness of a pencil and bend it without cracking, you've likely found workable material.
Field testing is simple. Wet a small handful, work out the lumps, and roll it into a coil. Wrap it around your finger. If it cracks immediately, the clay is too sandy or lean. If it holds the curve without fracturing, you're in good shape. Some deposits are nearly ready to use straight from the ground. Others need processing.
Processing Raw Clay the Primitive Way
Raw clay almost always contains impurities — pebbles, roots, organic material, and coarse sand — that will cause your finished pot to crack or even explode during firing. Processing removes those problems.
Start by breaking up dried clay and soaking it in water until it fully softens, which can take a day or two. Then work the wet clay through your fingers or press it through a woven basket or coarse cloth to screen out debris. Spread the processed clay on a flat rock or wood surface and let it dry to a workable, leather-like consistency — firm enough to hold its shape but still pliable.
Here's where temper comes in. Pure clay shrinks significantly as it dries and fires, and that shrinkage causes cracking. To counteract this, primitive potters have always mixed in a non-plastic material called temper. Crushed granite, coarse sand, ground-up shell, or even dried and powdered animal dung all work. A ratio of roughly one part temper to three parts clay is a reasonable starting point, though you'll dial it in through trial and error. This step is non-negotiable if you want pots that survive the fire.
Hand-Building: The Coil Method
There are several ways to hand-build pottery without a wheel, but coil-building is the most reliable for beginners and produces the most structurally sound vessels for survival use.
Start with a flat base. Press a ball of tempered clay into a disc roughly a quarter-inch thick, shaping it into a circle with your palm. From there, roll out long, even coils — think thick rope, about the diameter of your thumb — and begin stacking them in circles on top of the base, one at a time. After each coil, use your fingers or a smooth stone to blend the coils together on both the inside and outside of the wall, eliminating seams and building a continuous surface.
Work slowly. Let each section firm up slightly before adding more height, or the walls will slump outward under their own weight. Keep a small container of water nearby to keep your hands and the clay surface from drying out too fast. As you build up, you can flare the walls outward for a bowl shape, or keep them straight for a more cylindrical storage vessel.
For a pot you intend to cook in, aim for walls about a quarter to three-eighths of an inch thick. Too thin and they'll crack under thermal stress. Too thick and they'll take forever to heat through and are more prone to cracking during firing.
Drying Before Firing
This step is where impatience kills more pots than any other mistake. Greenware — unfired clay — must dry completely and evenly before it ever goes near a fire. Any moisture trapped inside the walls will turn to steam when heated and blow the pot apart. Slow, even drying in the shade is ideal. Direct sun or wind dries the outside faster than the inside and causes surface cracking.
Depending on the size of your vessel and ambient humidity, this can take anywhere from a few days to a week. The pot should feel room temperature all the way through — not cool to the touch, which indicates moisture is still present.
Pit Firing: The Original Kiln
Commercial kilns reach temperatures of 1800°F and above. A well-managed pit fire can realistically hit 1200 to 1400°F — lower, but absolutely sufficient to produce functional, durable ware. The key is controlling airflow and fuel.
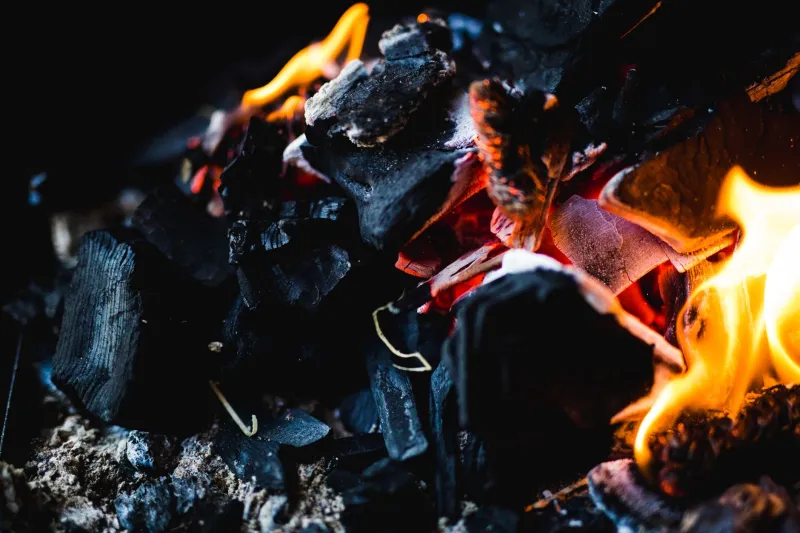
Dig a shallow pit about a foot deep and two to three feet across. Layer in dry hardwood — oak, hickory, and ash all work well — and place your bone-dry pots on top of the first layer of fuel. Cover them completely with more wood, building a substantial pile. Light the fire and let it burn hot. Don't rush it. The pre-heating phase as the fire builds is critical for driving off any remaining moisture gradually.
Let the fire burn down naturally over several hours. Do not douse the coals or pull the pots out while they're still hot. Thermal shock — rapid temperature change — is what cracks finished pottery. Let everything cool overnight. What you pull out the next morning will be rough, unglazed, and probably a little uneven. It will also be genuinely functional.
Real-World Durability: What to Expect
Primitive pit-fired pottery is not as strong as commercially produced ceramics. It's more porous, more prone to chipping, and won't handle the same kind of abuse as a cast iron pot. That said, it absolutely works. Pit-fired vessels can be used directly over a fire for cooking — just heat them gradually, never place them on a cold surface immediately after use, and keep them away from sudden contact with cold water while hot.
For water storage and carrying, primitive pots work well, though unglazed ware will slowly seep. A light coating of pine pitch or rendered fat on the inside surface helps seal the pores. For dry food storage — grain, dried meat, seeds — unglazed pottery performs beautifully and has been doing so since the Stone Age.
With reasonable care, a well-made pit-fired pot can last years. We've had test pieces hold up through dozens of cooking fires without a single crack.
Why This Skill Belongs in Your Toolkit
Primitive pottery isn't about rejecting modern gear. It's about knowing you can replace it when you have to. The ability to walk to a creek bank, pull material from the earth, and build a functional cooking vessel over the course of a few days is about as foundational as survival skills get. It connects you to a lineage of human ingenuity that stretches back further than recorded history.
And honestly? There's something deeply satisfying about eating a meal cooked in a pot you made with your own hands from dirt and fire. That's the kind of self-reliance that no supply chain disruption can ever take away from you.